
- 분류 전체보기 (484)

| 일 | 월 | 화 | 수 | 목 | 금 | 토 |
|---|---|---|---|---|---|---|
| 1 | 2 | 3 | 4 | 5 | 6 | 7 |
| 8 | 9 | 10 | 11 | 12 | 13 | 14 |
| 15 | 16 | 17 | 18 | 19 | 20 | 21 |
| 22 | 23 | 24 | 25 | 26 | 27 | 28 |
| 29 | 30 |
- 명령어
- 리눅스
- docker
- 오블완
- oracle
- Python
- DBMS
- IntelliJ
- spring
- MariaDB
- SQL
- 티스토리챌린지
- git
- github
- Linux
- Javascript
- PostgreSQL
- mssql
- iBatis
- PROMISE
- 후기
- Kibana
- mysql
- 네트워크
- 쉘스크립트
- 자바
- pandas
- 독서
- 인덱스
- java
- Today
- Total
hanker
Kendo - KendoGrid (Jquery) 그리드(테이블) 이벤트 처리 - template (3) 본문
Kendo - KendoGrid (Jquery) 그리드(테이블) 이벤트 처리 - template (3)
hanker 2024. 9. 27. 18:28https://hanke-r.tistory.com/210
Kendo - KendoGrid (Jquery) 그리드(테이블) CSS 수정 UI (2)
https://hanke-r.tistory.com/208 Kendo - KendoGrid (Jquery) 그리드(테이블) 생성 UI (1)DB에 있는 정보를 가져와서 화면에 보여줘야 될 경우에 HTML에서는 Table 태그를 쓴다.좀더 많은 기능을 간편하게 쓰기위해 Da
hanke-r.tistory.com
이전 글에 이어서 이번에는 이벤트 처리를 해보자.
이전 구조에서 추가되는 구조인데, 해당 부분에 template이라는 옵션을 사용해서 특정 열에 이벤트 처리할 예정이다.
template 사용 예를 몇 개 보고 작업을 해보자.
$("#grid").kendoGrid({
dataSource : dataSource,
columns: [
{
field: "ID",
title: "ID",
width: 100,
attributes: { style: "text-align: center" },
},
{
field: "Name",
title: "이름",
width: 100,
attributes: { style: "text-align: center" },
},
{
field: "comment",
title: "가입인사",
template: function(data){
// 내용
return "";
}
},
{
field: "Date",
title: "가입일",
width: 250,
attributes: { style: "text-align: center" },
}
]
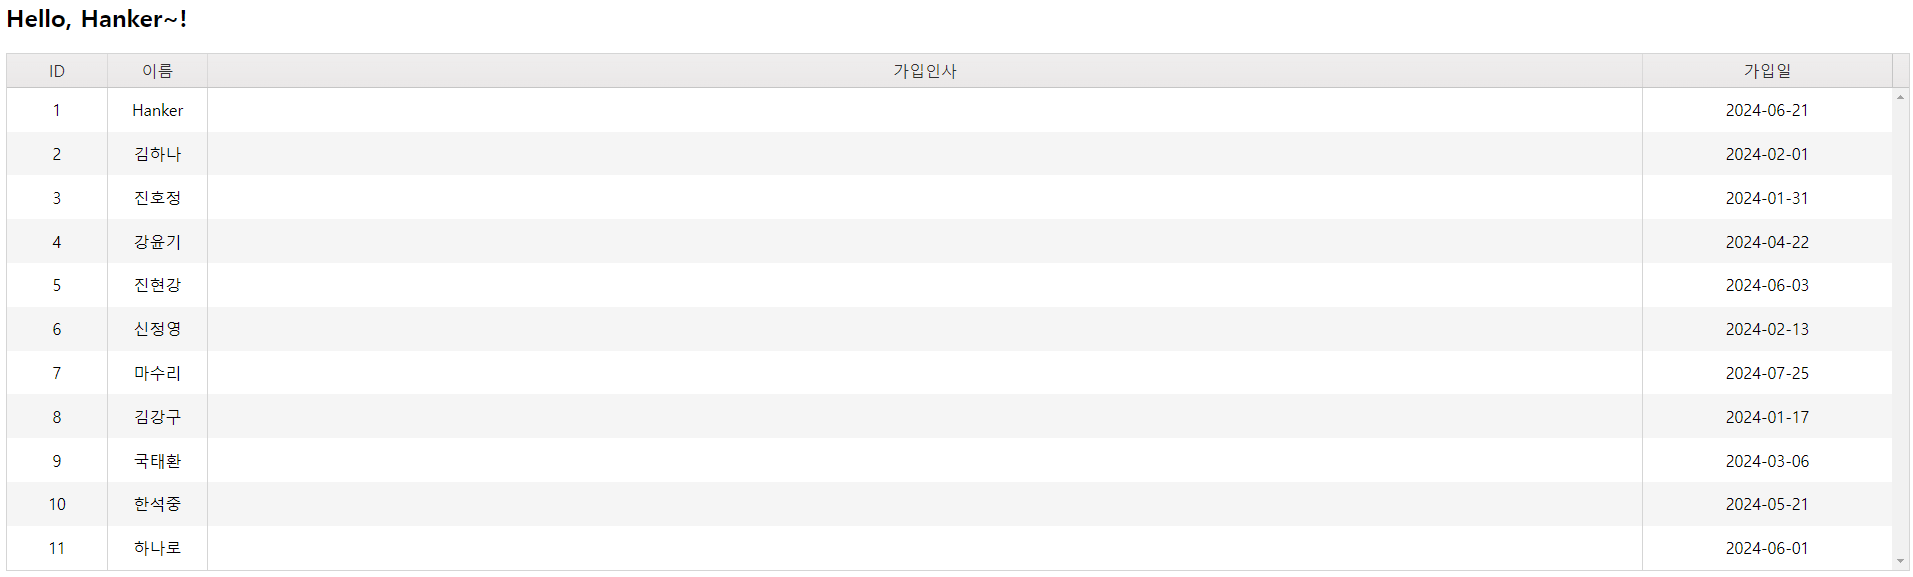
})가입 인사쪽을 보면 template 이라는 옵션이 추가 되었는데, 해당 옵션에 javascript 코드를 넣을 수 있다.
DB에서 가져온 원데이터를 가공한다던지, 데이터에 이벤트를 추가한다던지 할 수 있다.
위 코드로는 가입인사에 대한 데이터가 안나올텐데 이유는 return 된 값이 "" 빈 문자열로 되어있어서이다.
우선 전체 데이터 리스트를 뽑아보자
{
    field: "comment",
    title: "가입인사",
    template: function(data){
        console.log(data);
        // 내용
        return "";
    }
},
template 안에 console 을 찍어서 data를 불러왔다.
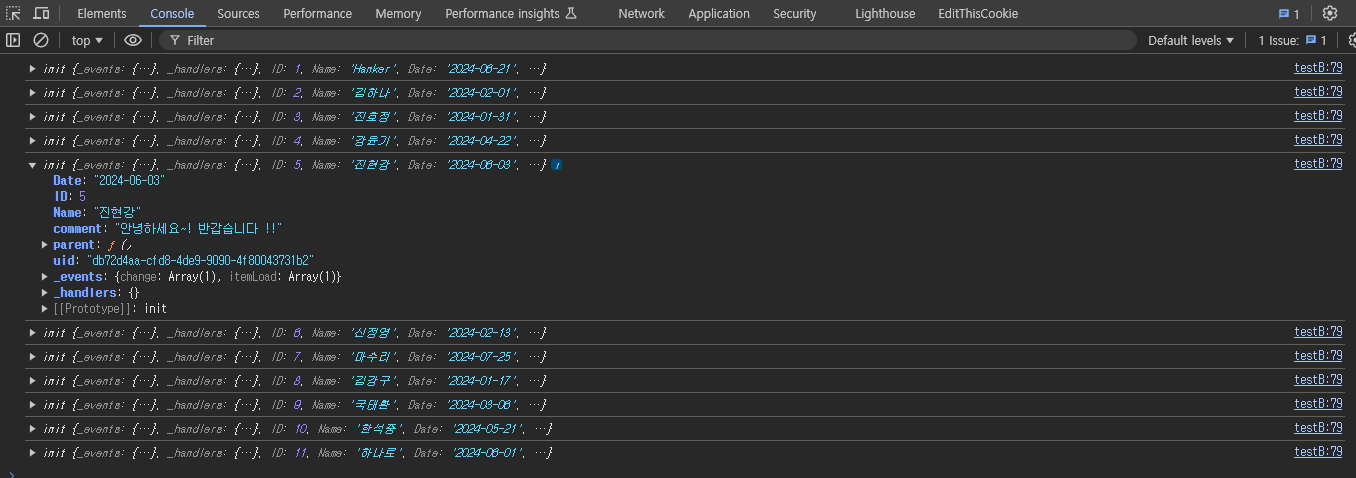
예상대로 잘나온다.
우리는 comment를 불러와야 하기 때문에 return 값에 comment를 넣어보자
{
    field: "comment",
    title: "가입인사",
    template: function(data){
        console.log(data);
        // 내용
        return data.comment;
    }
},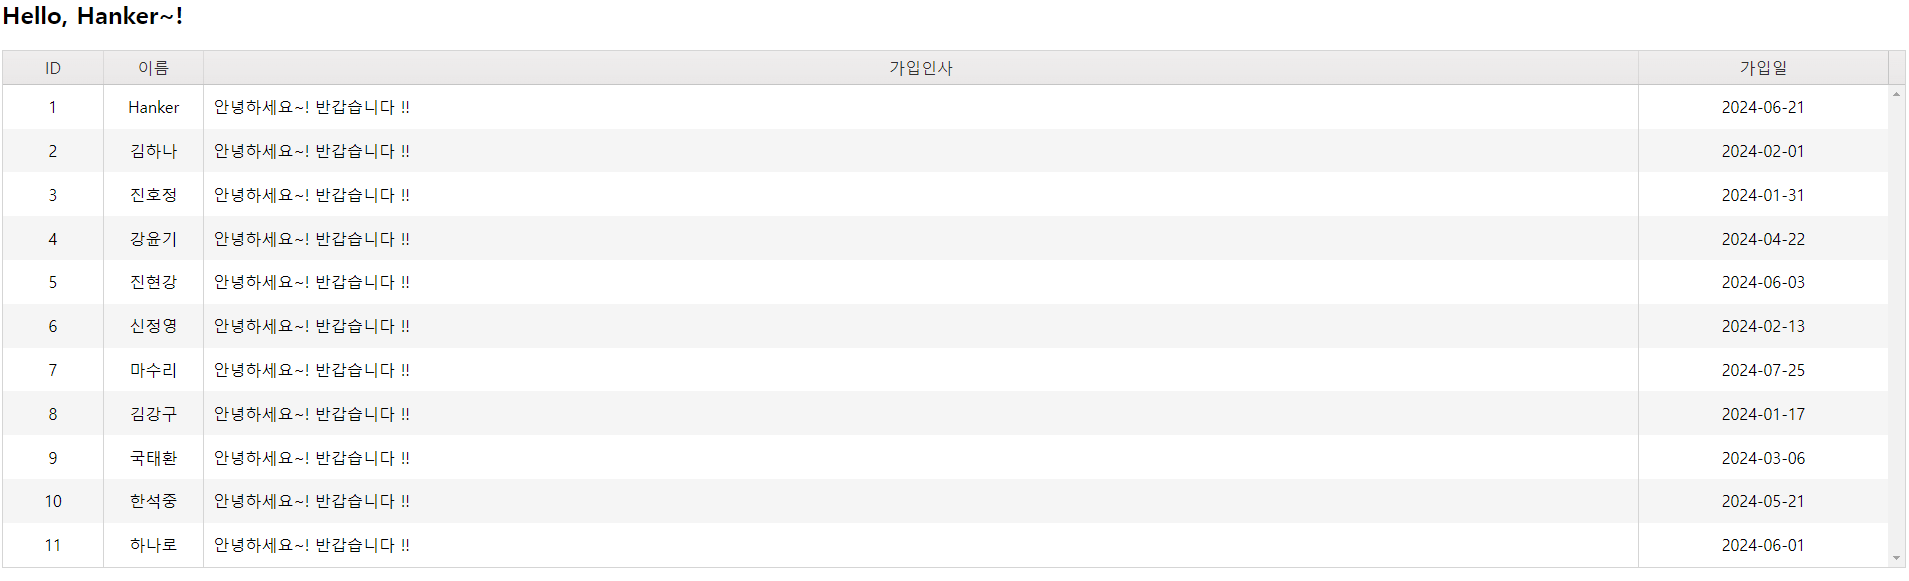
이전에 입력한(field) 내용이랑 동일하게 나오는게 확인된다.
보다 이해를 위해 script 코드를 추가해보자
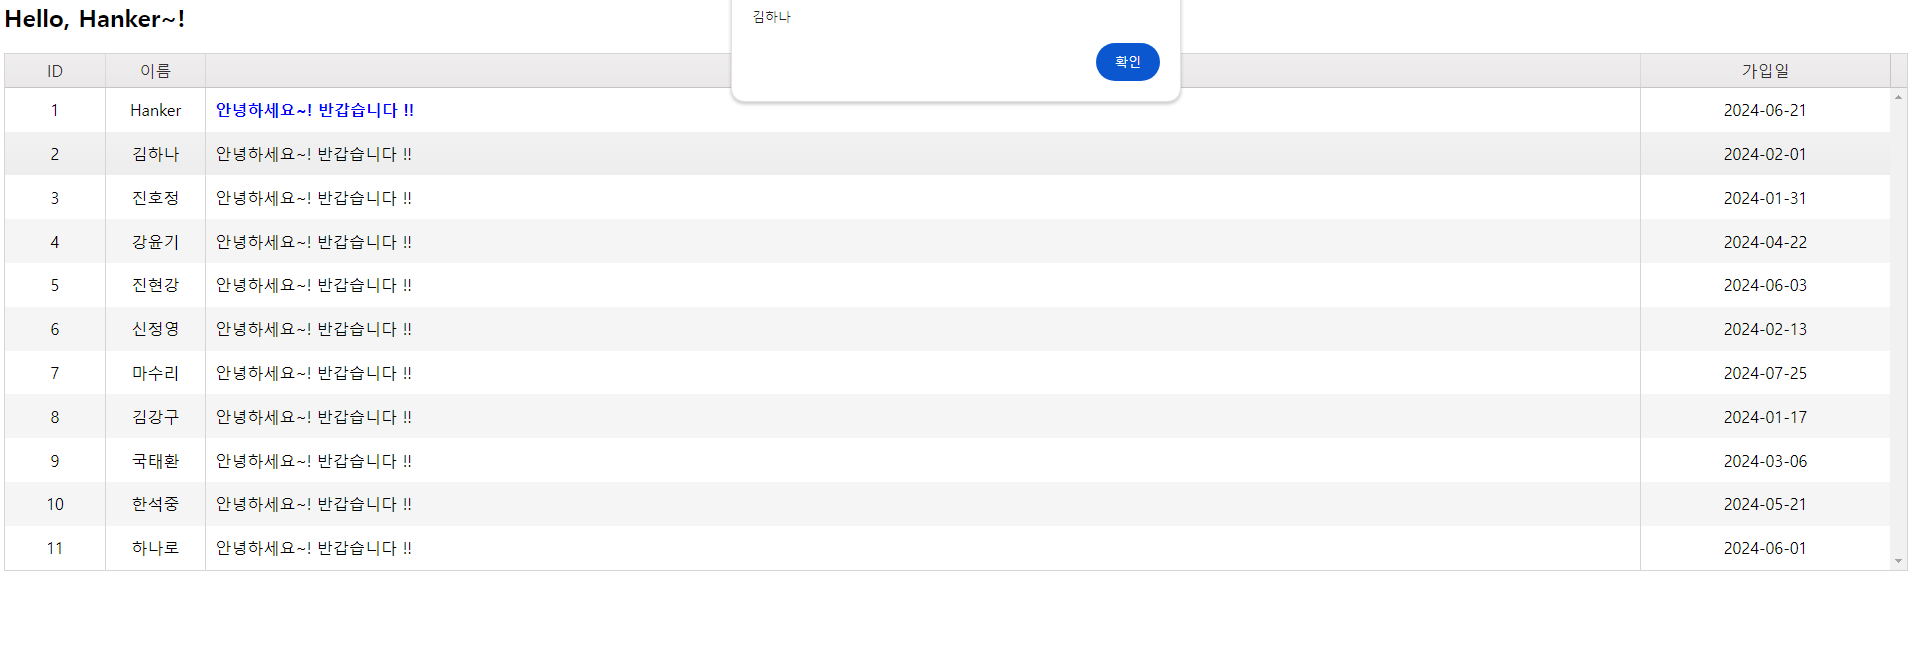
Hanker라는 사용자가 작성한 comment는 bold 체를 주고 글 컬러를 파란색으로 바꿔보자
{
    field: "comment",
    title: "가입인사",
    template: function(data){
        console.log(data);
        // 내용

        if(data.Name == "Hanker"){
            return "<span style='color: blue; font-weight: bold'>" + data.comment + "</span>";
        } else {
            return data.comment;
        }
    }
},
이렇게 Html 코드를 추가할 수 있다.
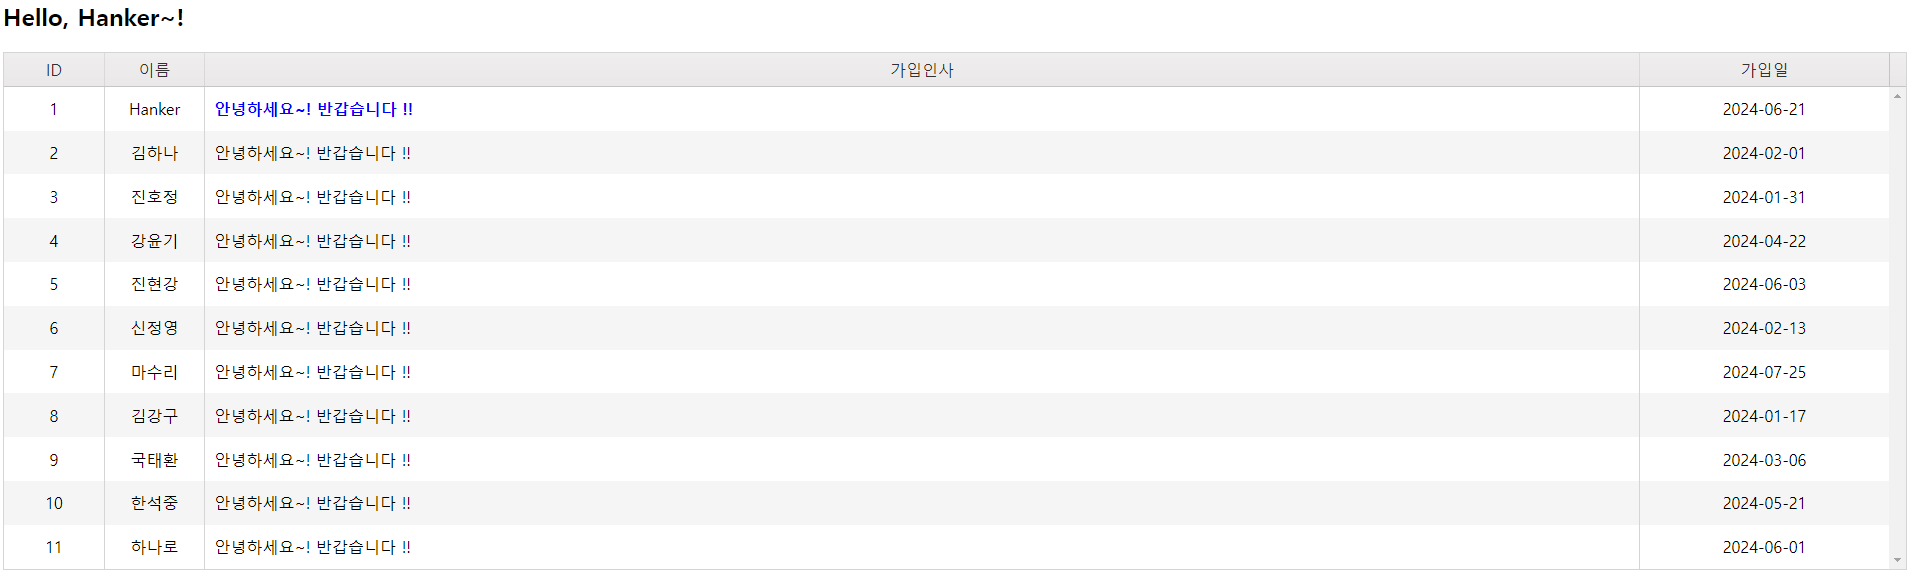
간단하게 변경된다.
이제 이벤트 추가를 해보자.
이름을 눌렀을 때 alert 창이 뜨게 변경해보자
{
    field: "Name",
    title: "이름",
    width: 100,
    attributes: { style: "text-align: center" },
    template : function(data){
        return "<span onclick='javascript:alert(\""+data.Name+"\");'>"+ data.Name+"</span>"
    }
},
김하나를 클릭했을 때 이렇게 alert 창이 뜬다.
이렇게도 변경해서 쓸 수 있다.
$("#grid").kendoGrid({
    dataSource : dataSource,
    columns: [
        {
            field: "ID",
            title: "ID",
            width: 100,
            attributes: { style: "text-align: center" },
        },
        {
            field: "Name",
            title: "이름",
            width: 100,
            attributes: { style: "text-align: center" },
            template : function(data){
                return "<span onclick='fn_alertName(\""+ data.Name +"\")'>"+ data.Name+"</span>"
            }
        },
        {
            field: "comment",
            title: "가입인사",
            template: function(data){
                console.log(data);
                // 내용

                if(data.Name == "Hanker"){
                    return "<span style='color: blue; font-weight: bold'>" + data.comment + "</span>";
                } else {
                    return data.comment;
                }
            }
        },
        {
            field: "Date",
            title: "가입일",
            width: 250,
            attributes: { style: "text-align: center" },
        }
    ],
})

function fn_alertName (Name) {
    alert(Name)
}
이 정도만 알아도 어느정도는 데이터 처리나 이벤트 처리가 완료될 수 있다.
끝.
'JavaScript > Kendo' 카테고리의 다른 글
| Kendo - KendoGrid (Jquery) 그리드(테이블) 페이징 처리 - paging (3) (0) | 2024.10.18 |
|---|---|
| Kendo - KendoGrid (Jquery) 그리드(테이블) CSS 수정 UI (2) (0) | 2024.09.22 |
| Kendo - KendoGrid (Jquery) 그리드(테이블) 생성 UI (1) (1) | 2024.09.21 |
| Kendo - kendo TextBox (4) (JQuery - enable) 입력 안내 (1) | 2024.09.19 |
| Kendo - kendo TextBox (3) (JQuery - placeholder) 입력 안내 (0) | 2024.09.18 |


